Editing a returned RPL application in Peppi
Once you have submitted an RPL application in Peppi, a member of administrative staff or a teacher may return the application to you and request changes to it before the application can be processed further.
You will receive an email notification if an RPL application has been returned to you for amendments.
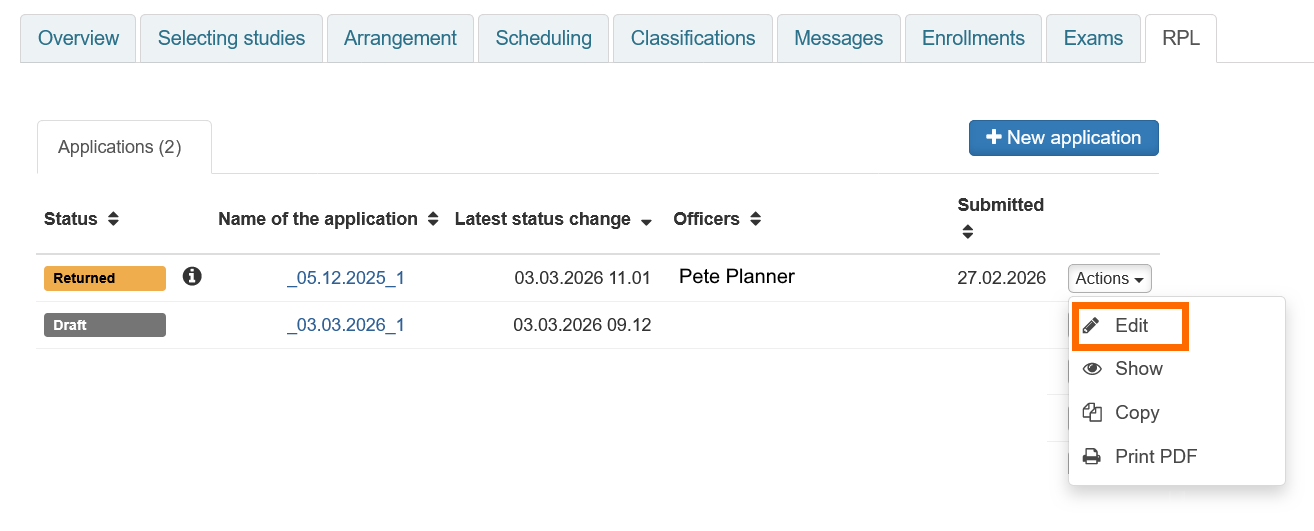
- You will find the application on the RPL tab of your Personal Study Plan in Peppi. The application status will be shown as Returned.
- Click the Actions menu for the application and select Edit.
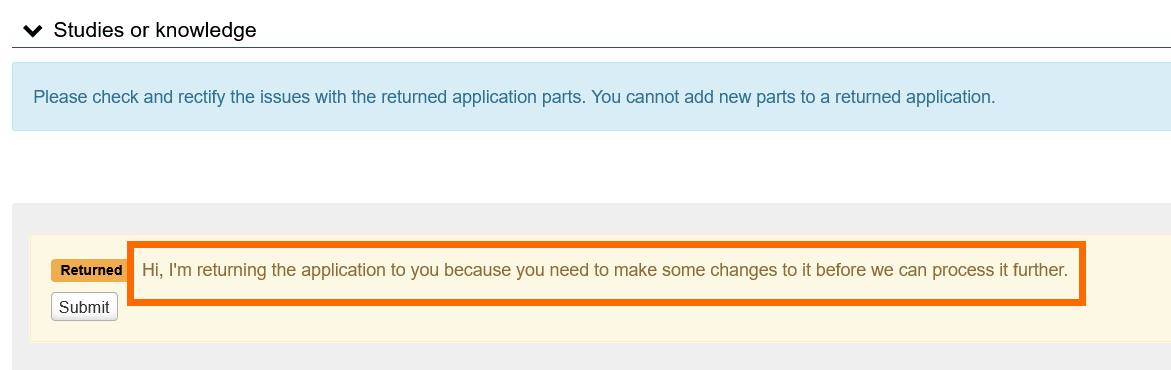
In the Studies or knowledge section of the application, you will see a message from the member of administrative staff or teacher who returned the application to you.
Instructions depending on what you have been asked to do:
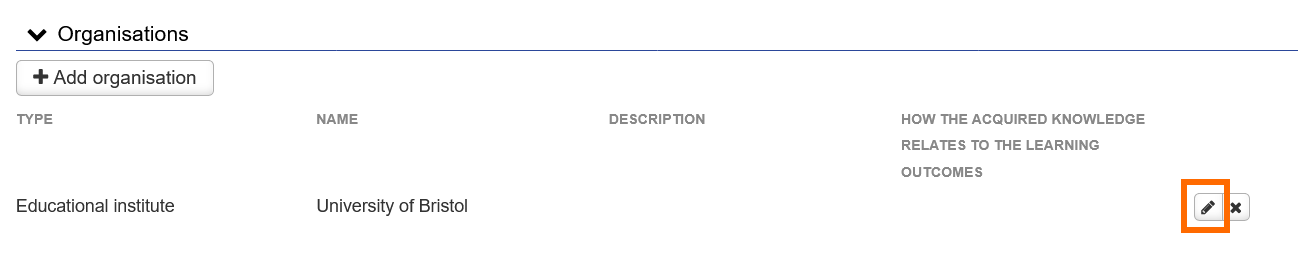
- Go to the Organisations section of the application.
- Click the pen icon next to the relevant organisation name.
- In the pop-up window, you can add attachments by going to the Attachments section at the bottom of the window and either clicking +Choose files or dragging and dropping files to the application.
- To remove an attachment, click the X next to the file name.
- You can copy a sharable link to a transcript of records from the My Studyinfo service at Opintopolku.fi. You can copy-paste the link into the Link to electronic transcript of records field or alternatively copy and paste the link into a Word document and attach the document to your application.
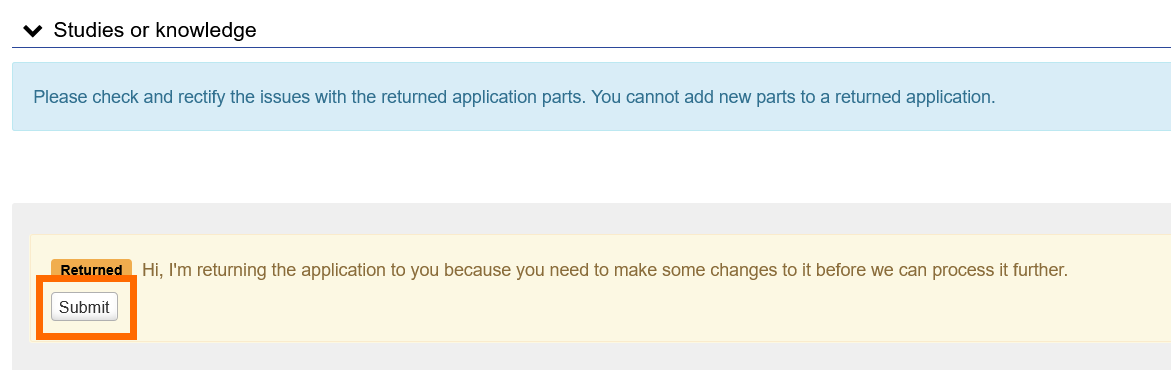
- When you have finished editing the application, go to the Studies or knowledge section and click Submit. The application part in question will be returned to the person assigned to process it.
- Go to the Studies or knowledge section of the application.
- Click the pen icon for the returned application part (on the left-hand side of the page).
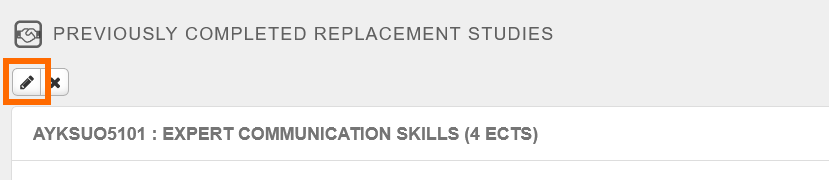
- This will open the Edit previously completed course/knowledge page.
To change the credit transfer type
- Use the drop-down menu to select the correct credit transfer type (Replacement or Inclusion).
- Make the other required changes to the application part, following the instructions you were sent when the application was returned to you (e.g. add the relevant course from your PSP that you seek to replace or select the section of your PSP where the courses to be included will be placed). For further instructions, see the following pages:
To make changes to the courses to be replaced
- On the right-hand side of the window, under Courses selected for the application part, you will see the course(s) you selected from your PSP to be replaced.
- To delete a course from this section, click the X next to it.
- Add another course from your PSP to the box on the right if you were instructed to do so. For further instructions, see the following pages:
To edit the details of your previously completed studies or other prior knowledge
- Go to the previously completed course or other prior knowledge (e.g. job role) whose details you have been asked to edit.
- Click the pen icon next to it.
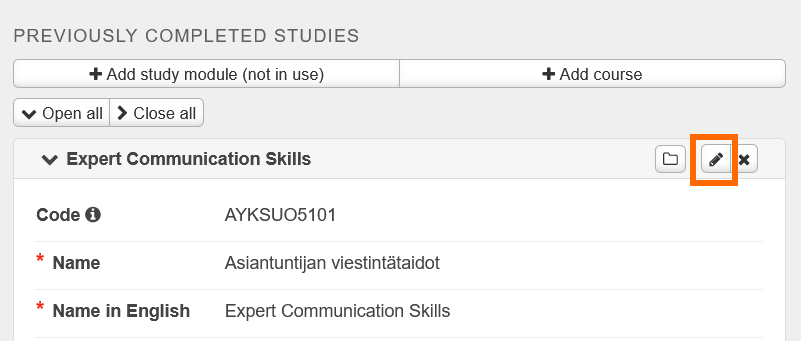
- Make the requested changes (e.g. add the official English name of the course or more detailed information in the Justifications field).
- Finish by clicking Edit.
To delete a previously completed course or other prior knowledge
- Go to the previously completed course or other prior knowledge (e.g. job role) that you have been asked to remove from the application.
- Click the X icon next to it to delete it.
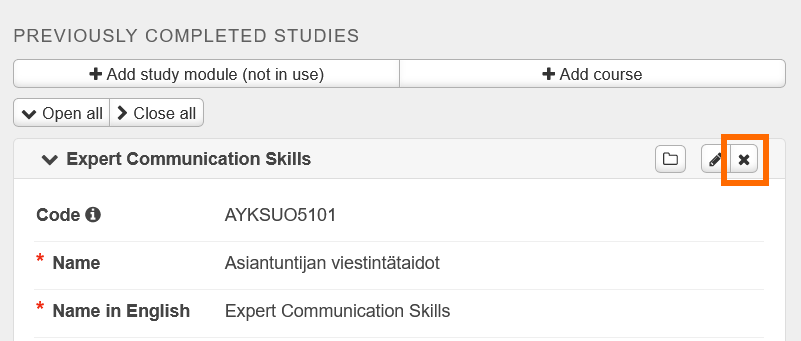
- Finish by clicking Edit.
To add a previously completed course or other prior learning to an application part
- Click +Add course or +Add knowledge
- Fill in the details of your previously completed course or other prior learning (e.g. job role). For further instructions, see the following pages:
- Finish by clicking Edit.
Submitting the application
- Save the application part by clicking Save.
- When you have finished editing the application, click Submit. The application part in question will be returned to the person assigned to process it.
Within a single application part, you identify which specific previously completed course(s) or job role(s) correspond(s) to a specific course in your PSP that you are seeking to replace.
If your previous studies / other prior learning and the courses in your PSP have not been added correctly to different application parts (e.g. you have added to a single application part all your previous studies and all the different courses from your PSP that you are seeking to replace), your credit transfer cannot be recorded correctly even if your application could otherwise be approved in terms of its content.
For technical reasons, administrative staff cannot themselves edit the structure of an application. You may therefore be asked to create new application parts, adding particular courses under separate application parts.
However, you cannot add new application parts directly to an application that has been returned to you. Therefore, please use the following workaround:
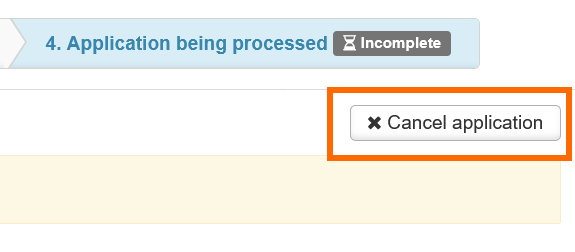
- Cancel the application by clicking the Cancel application button at the top of the page. NB! If your application includes multiple parts and any application part has already been processed (approved or rejected), it is no longer possible to cancel the application. See further below for instructions for such circumstances.
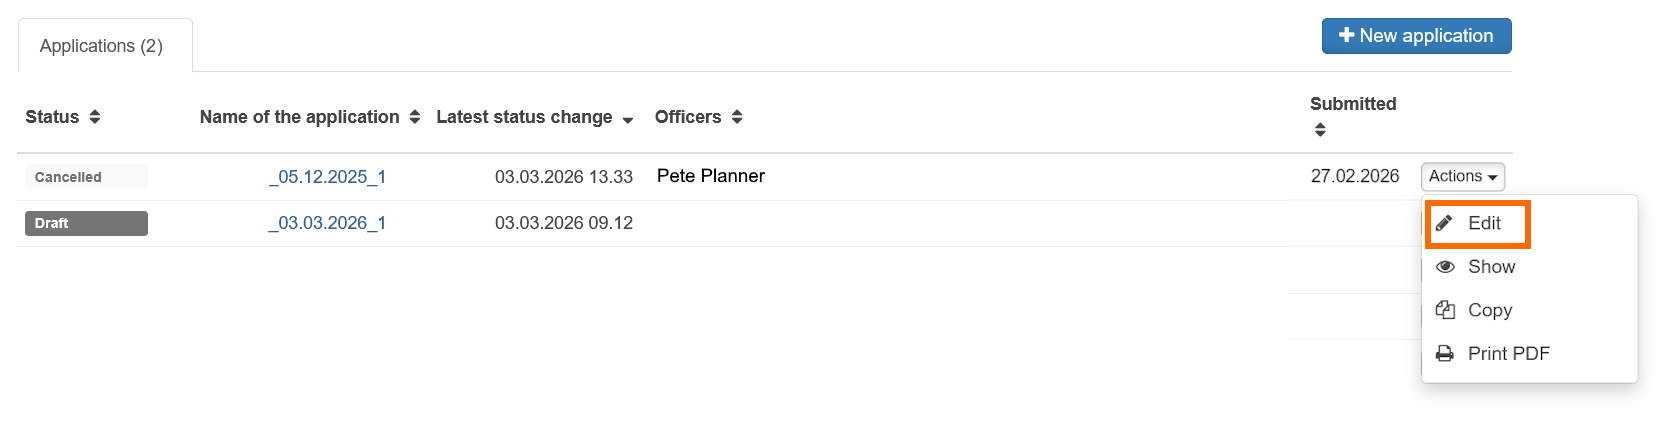
- You will be taken back to the RPL landing page, where the application status is now shown as Cancelled.
- Click the Actions button for the cancelled application (on the right-hand side of the page) and select Edit.
- At the top of the page, click Re-activate.
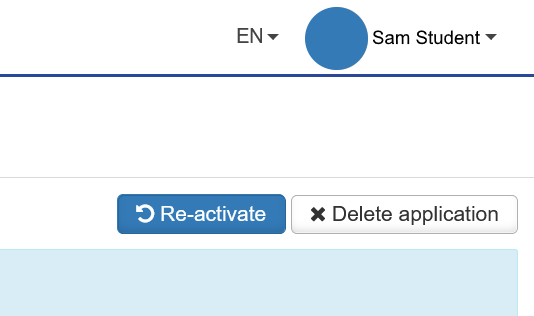
- The application status will revert to Draft, and you will now be able to edit the existing details and add new application parts. The application draft includes all the information and attachments you previously added to your application.
- To create a new application part, go to the Studies or knowledge section and click either +Create application part (course) or +Create application part (knowledge).
- You can also edit the attachments or the existing application parts (e.g. delete courses from them or add new ones) - see the instructions above.
- For further instructions, see the following pages:
- When you have made the requested changes, go to the top of the page and click Submit application.
If you are unable to cancel your application
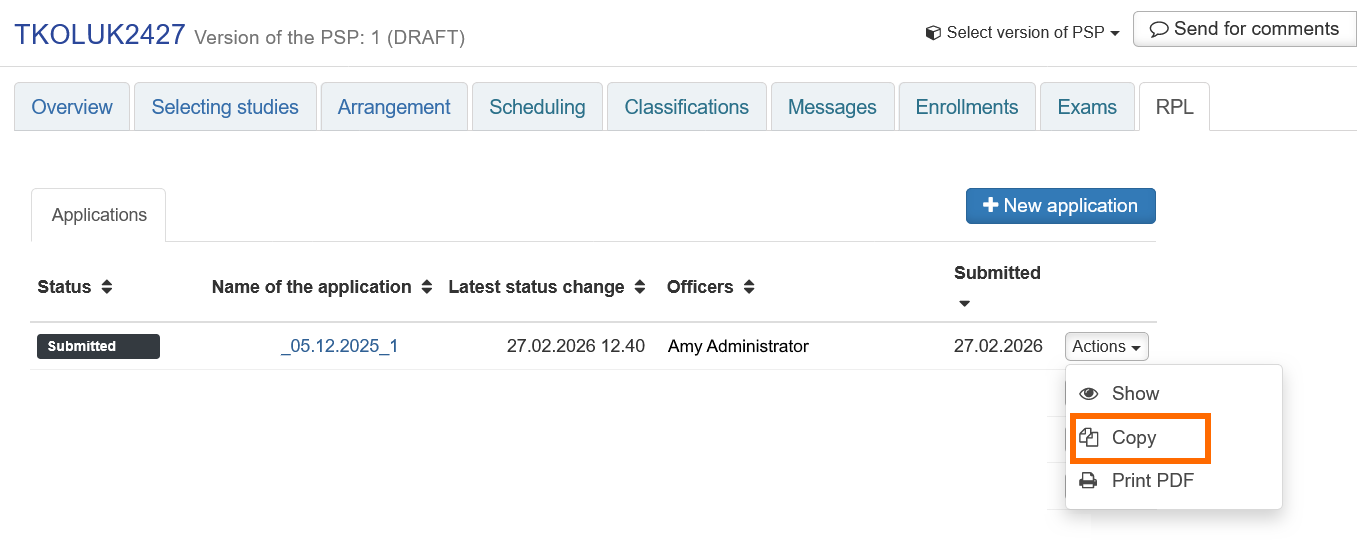
- Go to the RPL tab of your Personal Study Plan and click the Actions menu for the application. Select Copy. This will create another copy of the application. The copy will be saved as a draft and it will include all the information and attachments you added to the original application.
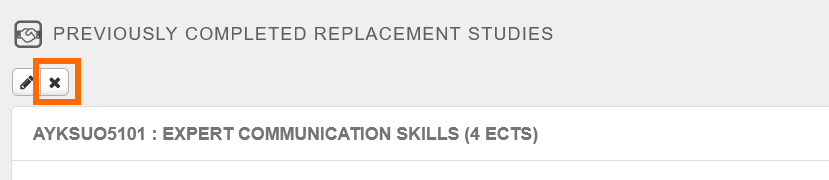
- Remove any application parts from the copy that have already been processed as part of the original application. To remove an application part, go to the Studies or knowledge section and click the X icon for the relevant application part (on the left-hand side of the page).
- Create the required new application parts by clicking either +Create application part (course) or +Create application part (knowledge).
- You can also edit the attachments or the existing application parts (e.g. delete courses from them or add new ones) - see the instructions above.
- For further instructions, see the following pages:
- When you have made the requested changes, go to the top of the page and click Submit application.